Skip to content

Unit: Lay flat vinyl

LMFFL2301A: Install lay flat vinyl floor coverings

Section 3: Cutting and fitting

Freehand cutting


Image for slide 1
Audio for slide 1 (mp3 |6|KB)
The idea of freehand cutting is to put a slightly oversized piece of material in place on the floor and then cut and fit it in position.

The procedure is as follows.

hearing icon
Image for slide 2
Audio for slide 2 (mp3 |6|KB)
  1. Pre-cut the piece outside the room in an area where you can lay it out full sized. Leave about 50 to 100 mm over-length at each end for re-trimming.

  2. Carry the piece into the room and lay it in place on the floor.

    If the piece is large, roll it up or 'tube' it first, with the face on the inside.
hearing icon
Image for slide 3
Audio for slide 3 (mp3 |6|KB)
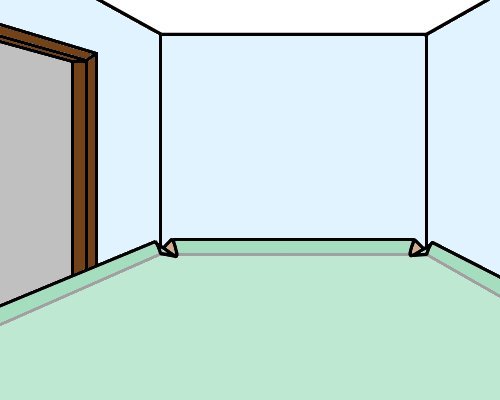
  1. Make relief cuts at the junction between the floor and walls, so that the material lays flat without tearing.

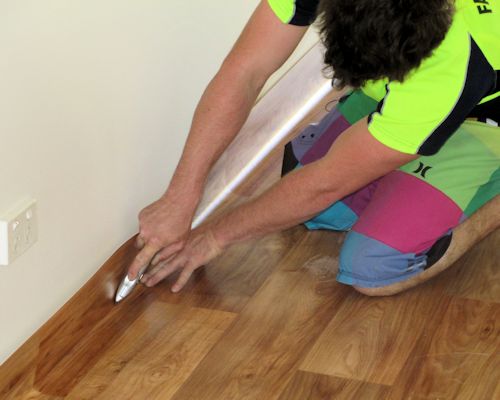
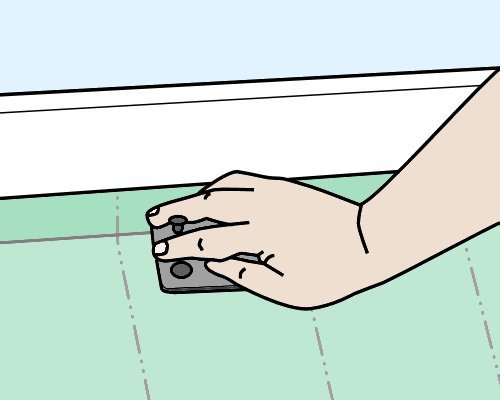
  2. Trim the edges with a knife or wall trimmer so they fit tightly to the walls.
hearing icon
Image for slide 4
Audio for slide 4 (mp3 |6|KB)

Relief cuts

There are four basic relief cuts.

They are designed to allow the material to be pushed down flat on the floor at the junctions with walls and other objects.

hearing icon
Image for slide 5
Audio for slide 5 (mp3 |6|KB)

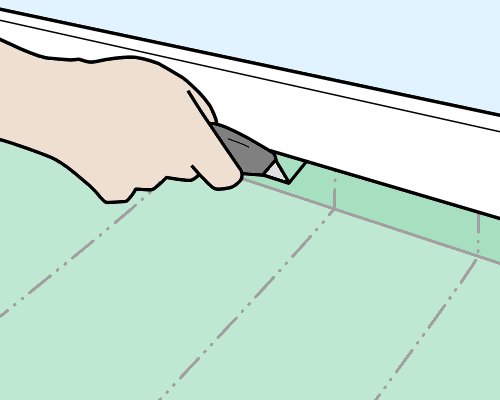
Curved or irregular shaped wall

Put a vertical cut in the material where it flashes up against the wall.

Keep the side of the knife against the wall to guide the cut and to avoid marking the wall.

Make sure the cut isn't too deep, so it doesn't show in the finished job.

hearing icon
Image for slide 6
Audio for slide 6 (mp3 |6|KB)

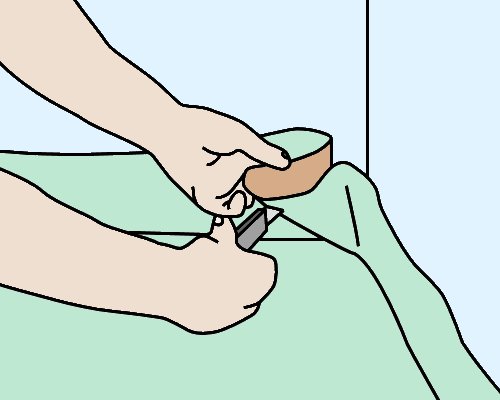
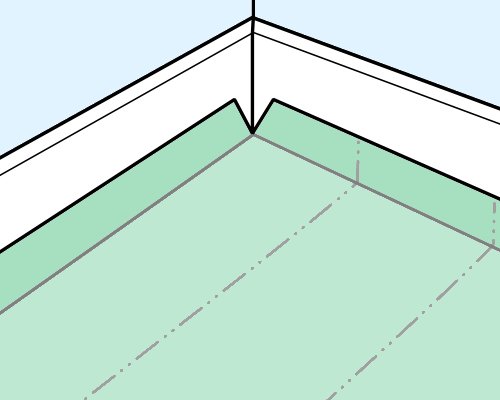
Inside corner

Cut diagonally across the corner of the material from both sides.

Push the material into the inside corner to check whether the cut is deep enough.

Be careful not to cut too deep - it's best to cut in steps and check the fit after each cut.

hearing icon
Image for slide 7
Audio for slide 7 (mp3 |6|KB)

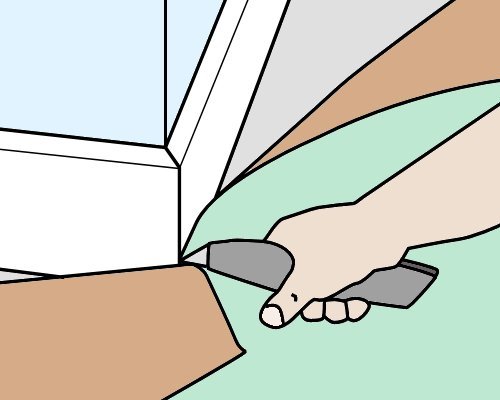
Outside corner

Hold the material in position at the outside corner.

Cut downwards towards the floor, following the line of the corner.

Trim the material at the floor and wall juncture to avoid tearing it as you push it down flat.

hearing icon
Image for slide 8
Audio for slide 8 (mp3 |6|KB)

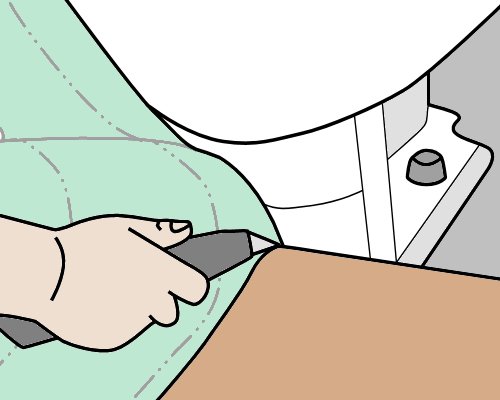
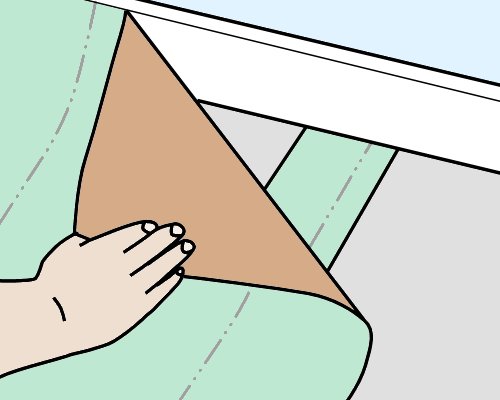
Three sides of an object

Flash the material up around the front of the object and push it in around the junction of the floor and object.

Slit the material almost to the floor.

Use a small crosscut at the bottom of the slit to stop the cut from tearing into the material.

Work the material down to the floor, cutting it flat to the floor wherever there are buckles or pressure points.

hearing icon
Image for slide 9
Audio for slide 9 (mp3 |6|KB)

Other tricks

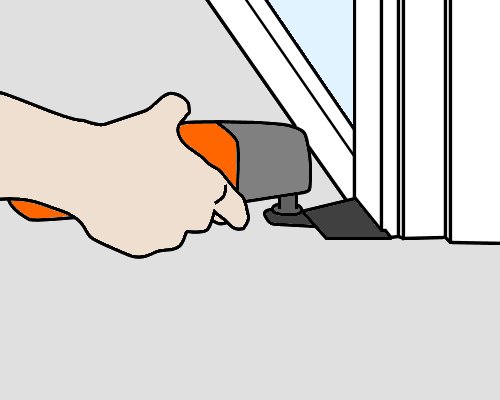
Door jambs and architraves

Where possible, undercut the door jambs and architraves to the thickness of the flooring material so it will fit underneath.

Use a jamb saw or multi tool to cut the timber.

If the jambs and architraves can't be undercut, fit the material by putting in relief cuts as you push it down.

hearing icon
Image for slide 10
Audio for slide 10 (mp3 |6|KB)

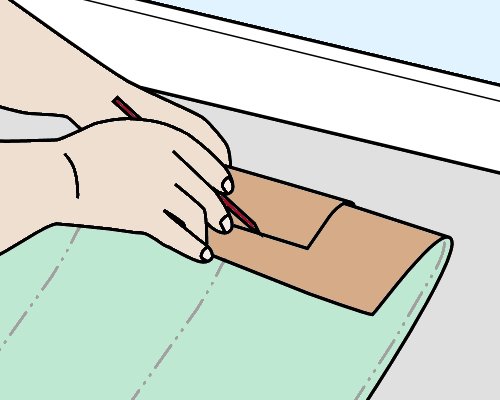
Strip measuring

This method of measuring is useful when the wall is straight but hard to reach with the knife.

Flash the material up the wall and then pull it back.

Put a piece of scrap material with a squared end under the material and push it hard against the wall.

Pull both pieces back together and mark the underside of the material at the end of the scrap piece. Do this several times along the wall.

hearing icon
Image for slide 11
Audio for slide 11 (mp3 |6|KB)
Remove the scrap and fold the piece back so you can draw a continuous line along the marks with a straightedge.

Don't forget to make an allowance for the curve of the material - the scrap piece will have slid back slightly due to the curvature.

Cut the material from the underside, being careful not to cut right through to the material underneath.

hearing icon


Learning activity

Audio 12 (mp3 |6|KB)

There are various tools that can be used to undercut a door jamb and architrave. You can use a jamb saw or multi tool, or in some cases even a handsaw and chisel.

The link below will take you to a YouTube video clip called: 'Jamb saw and Dremmel multimax'.

Jamb saw and Dremmel multimax

Have you used power tools like these to undercut an architrave?

If so, what type of tool did you use and what was its brand name?

hearing icon